Replace Hotend —Tina2s V10
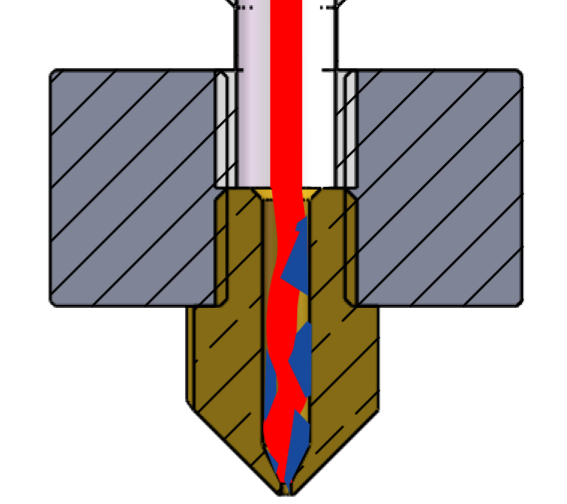
There are impurities that are difficult to melt at the nozzle, which block the nozzle's thread outlet. The nozzle cannot be cleaned and the only option is to replace the hotend.
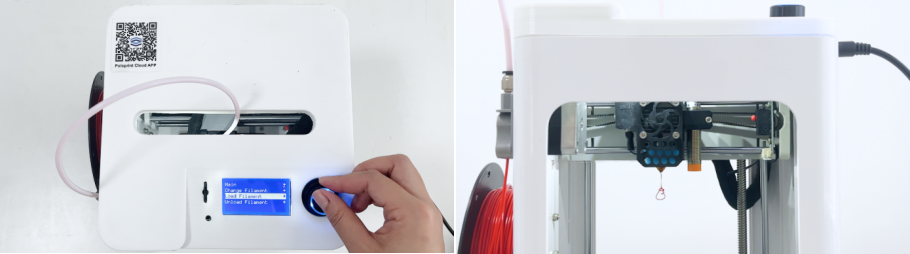
1. Unload the filament, wait for the temperature to cool down.
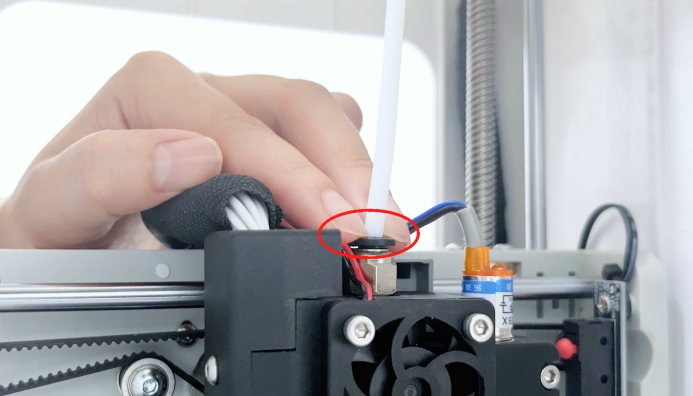
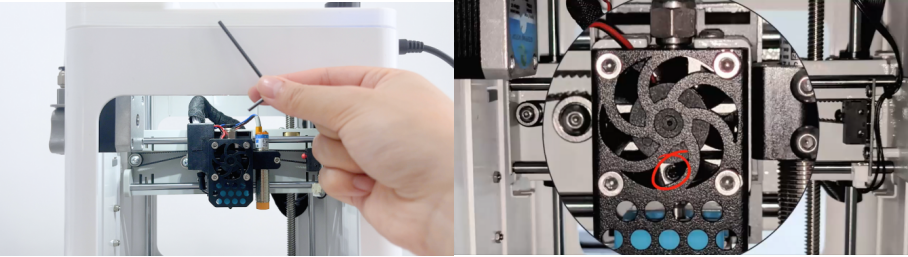
2. Press both ends of the Tube Fitting to remove the filament tube.
 3. Use a 2mm wrench to loosen the screw of the hotend.
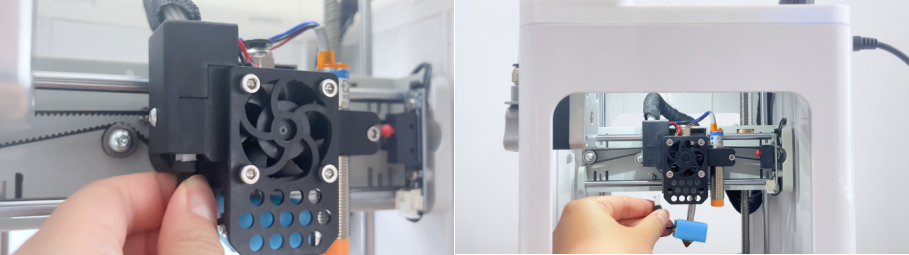
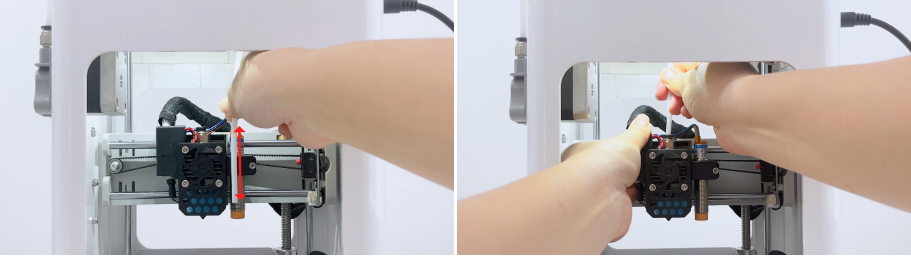
 4. Unplug the hotend connector, and remove the old hotend.
 5. Install a new hotend, pressing firmly by hand.
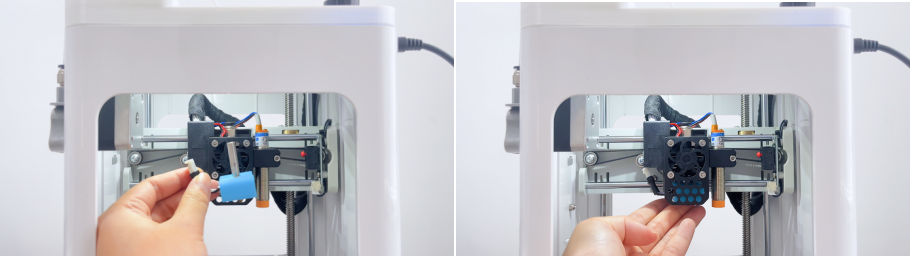 6. Tighten the screw and plug in the connector.
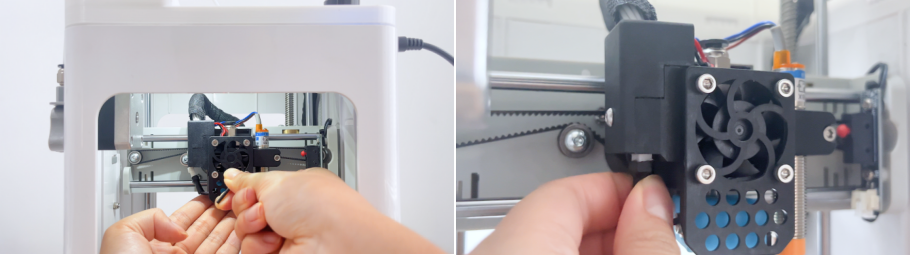 7. Reinsert the tube into the bottom; approximately 6cm deep. Ensure it is fully inserted to avoid future blockages.
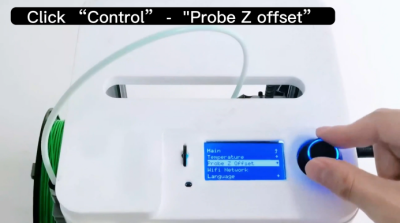
 8. Readjust the Z-offset.Please check the video for adjusting the Z-offset.
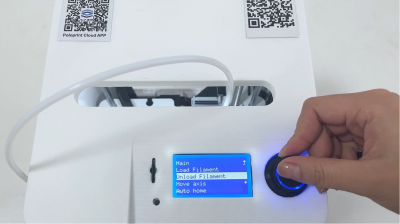
9. After replacing the hotend, click on the “Load Filament” to test the installation.